
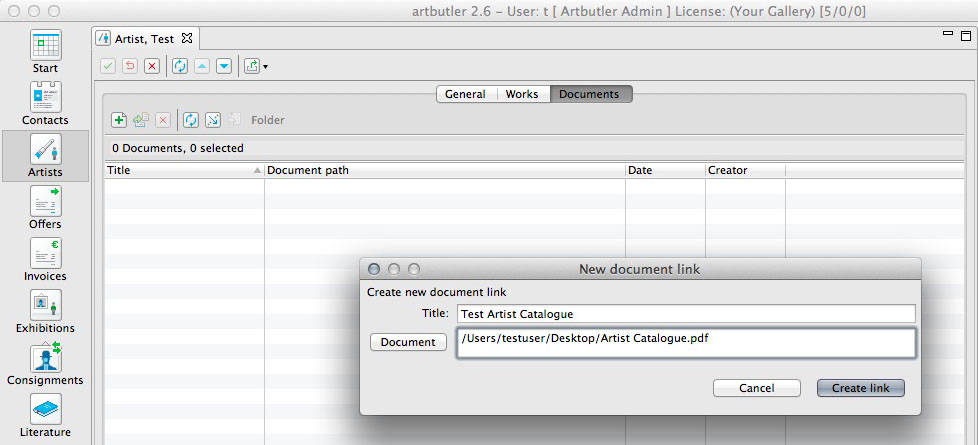
- In this case, go to the artist’s profile, by finding and selecting them from your right hand side list view with a double click.
- The profile will appear in the middle detail view. Select the Documents tab at the top of the profile.
- Select the New button and a pop-up window will appear.
- You can give the document a title in the open field and select the Document button to add the file you want. Once done, click Create Link.
- The document is now linked to the profile. If you select it and click the Open Document button or right hand click and select Open Document from the drop down menu, it will directly open up the file.
4. Linking an ARTBUTLER Document to its Source
- Create a ‘file’ you would like to export: e.g: an invoice.
- In this case you are within Invoices from your left hand side navigation, and you have the current invoice open in your middle detail view.
- Go to the Exports
 button in your middle detail view and select Documents. Select a document export, which you have previously set up. See Template Settings for an overview of this.
 - The document will begin to automatically export. A pop-up window will appear where you can select where you would like to save the document. Select the location and click Save.
- The document will begin to export and when completed, a second pop-up window will appear.
- You will have the choice to simply OK the export, Link the export, or Open the export.
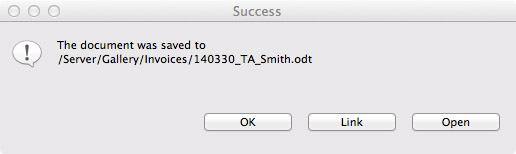
- Select Link and a third pop-up window will appear.
- The link will automatically be to the location you just selected for the export. Usually this is correct, otherwise you can select the Document button and create a new link.
- The link is automatically given the name of the export. You can rename this to whatever suits you if you need.
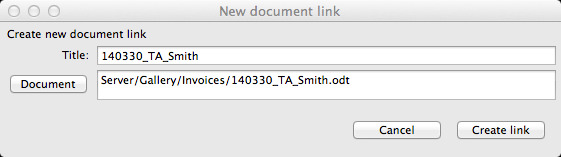
- Once done, click Create Link.
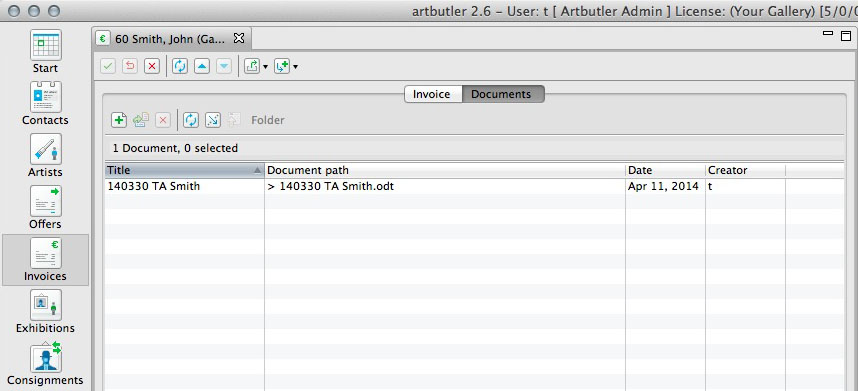
- If you now go to the Document tab within your invoice file, you will see the linked document file. You can always find and open the document from here by selecting the Open Document button, right clicking the link and selecting Open Document form the drop down menu, or double clicking the link.