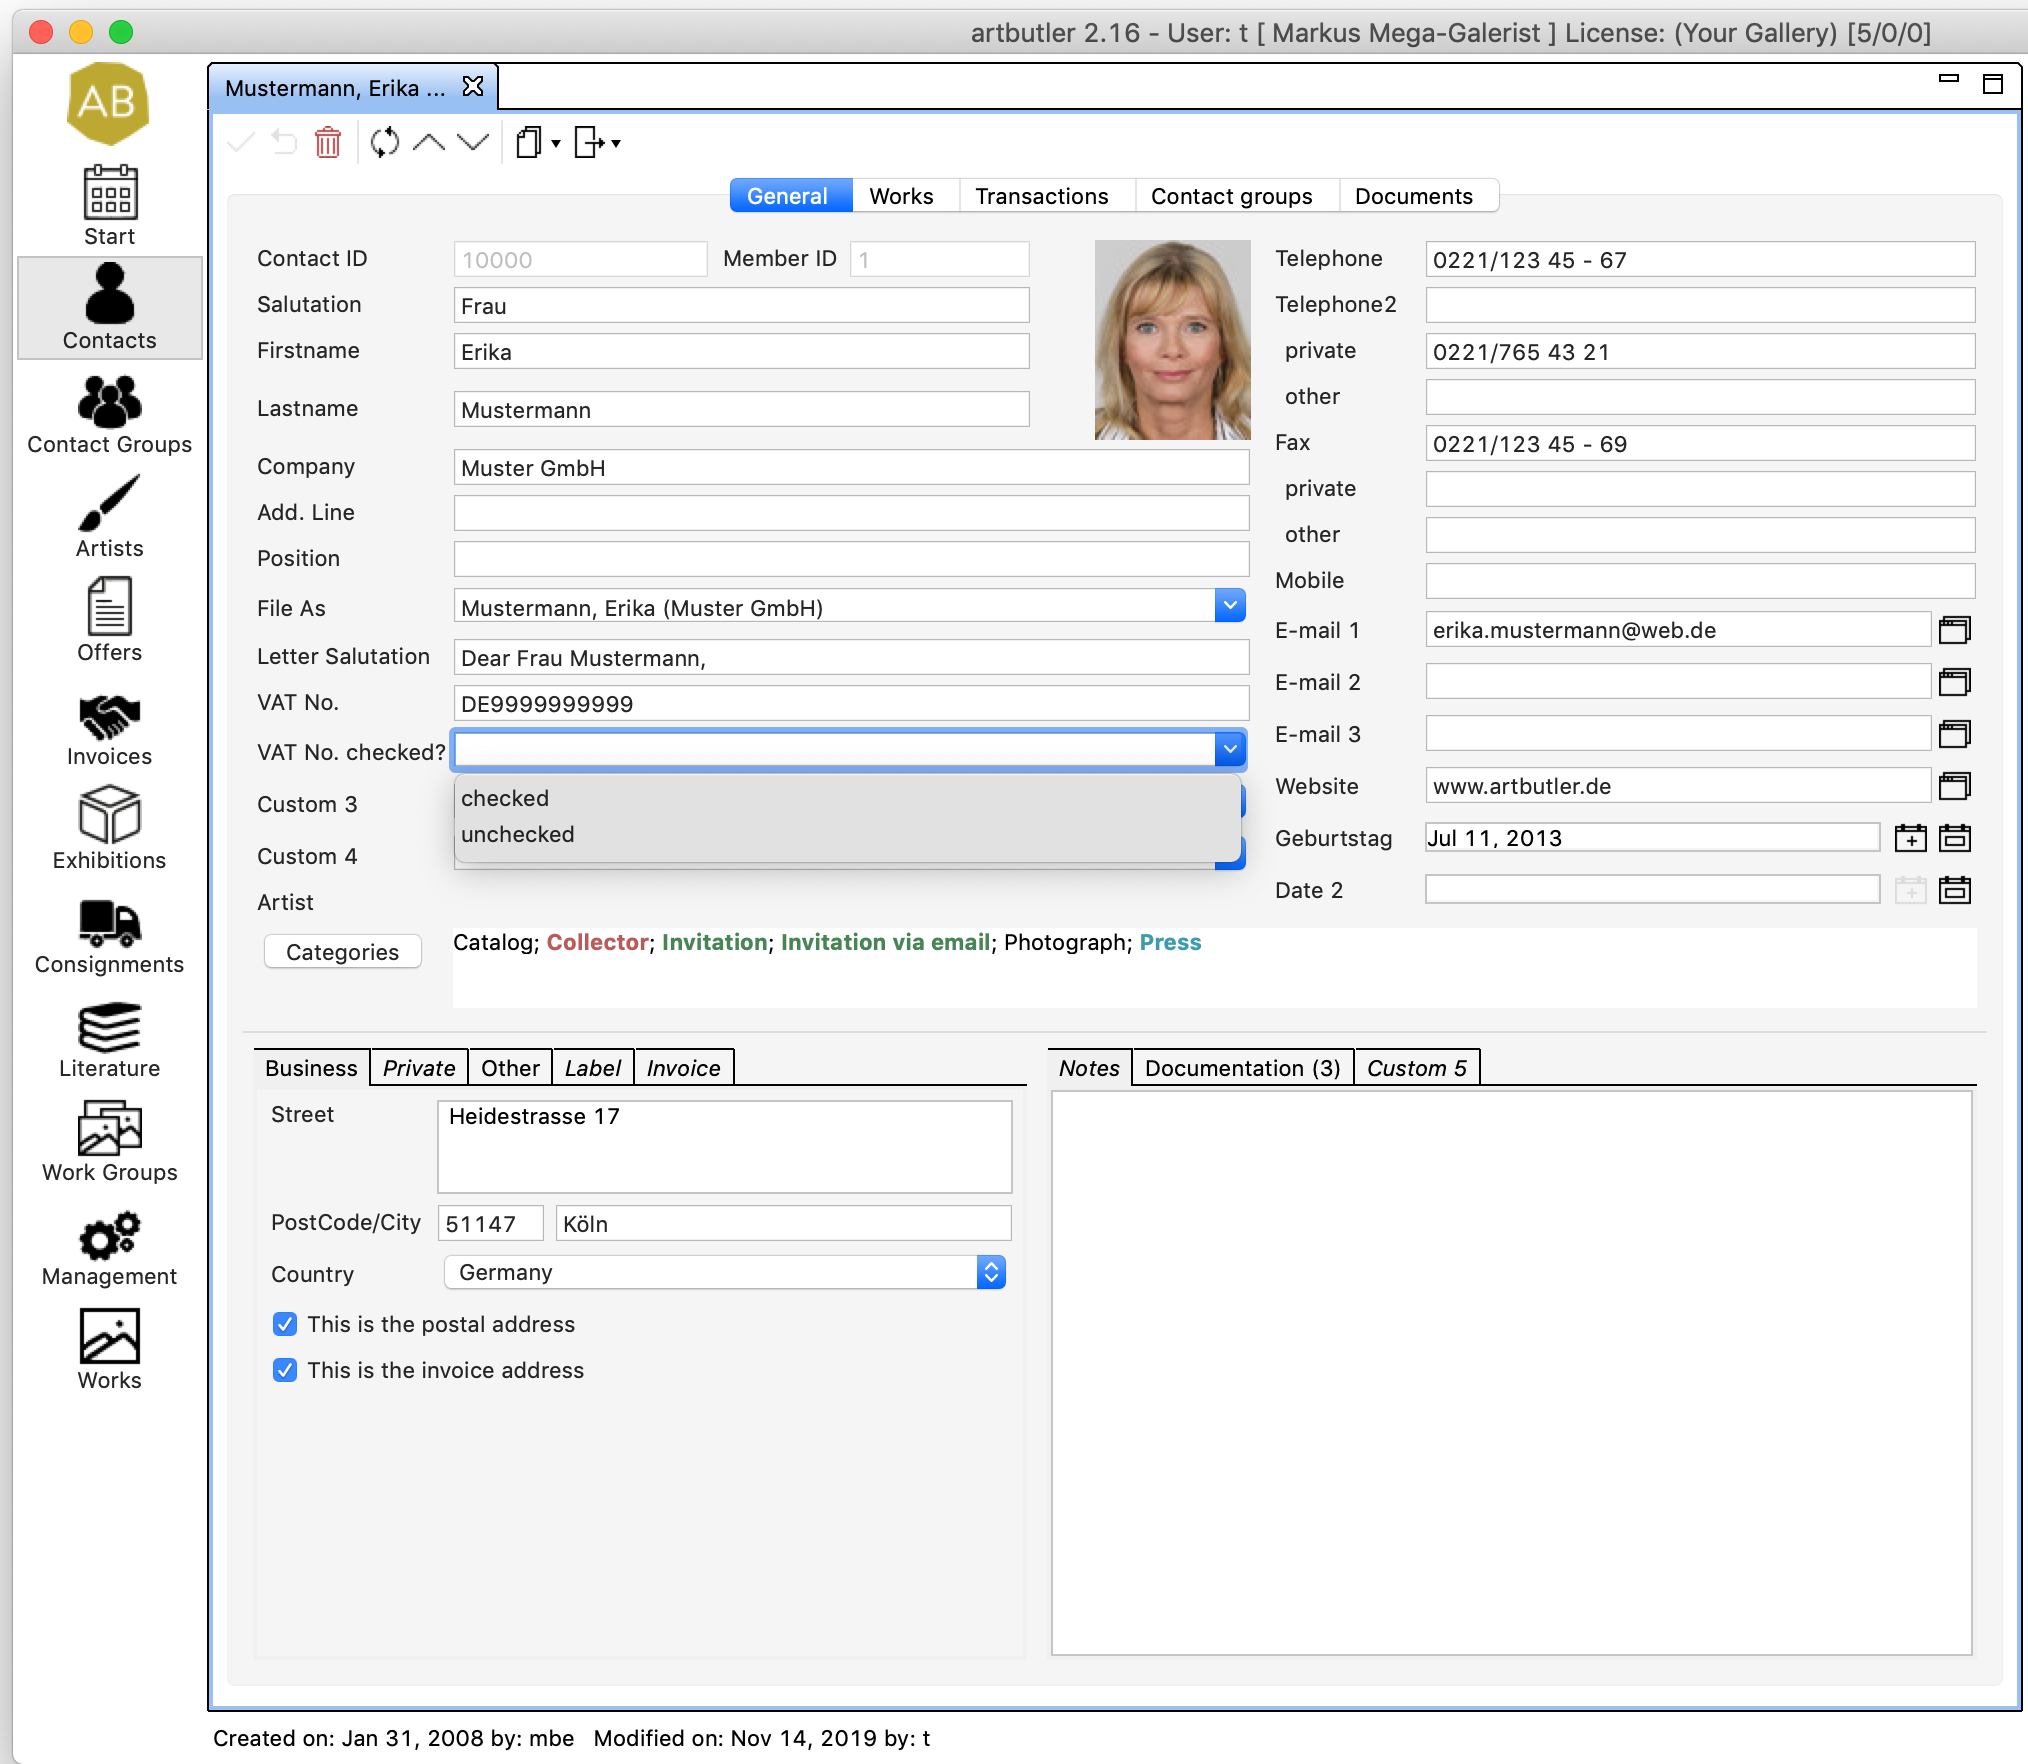

- When adding the contacts address, you can add several by using the different tabs. e.g: A business and a private address, or if there is more than one business address.
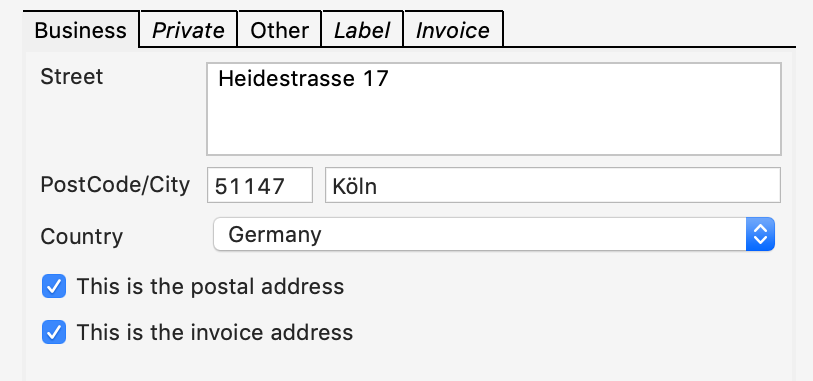
- Tick the box ‘This is the postal address’ for the contact’s main address.
- By clicking the box next to Country, a drop down menu will appear with different countries. If a country is not available you can add it in the Management section. This is explained below.
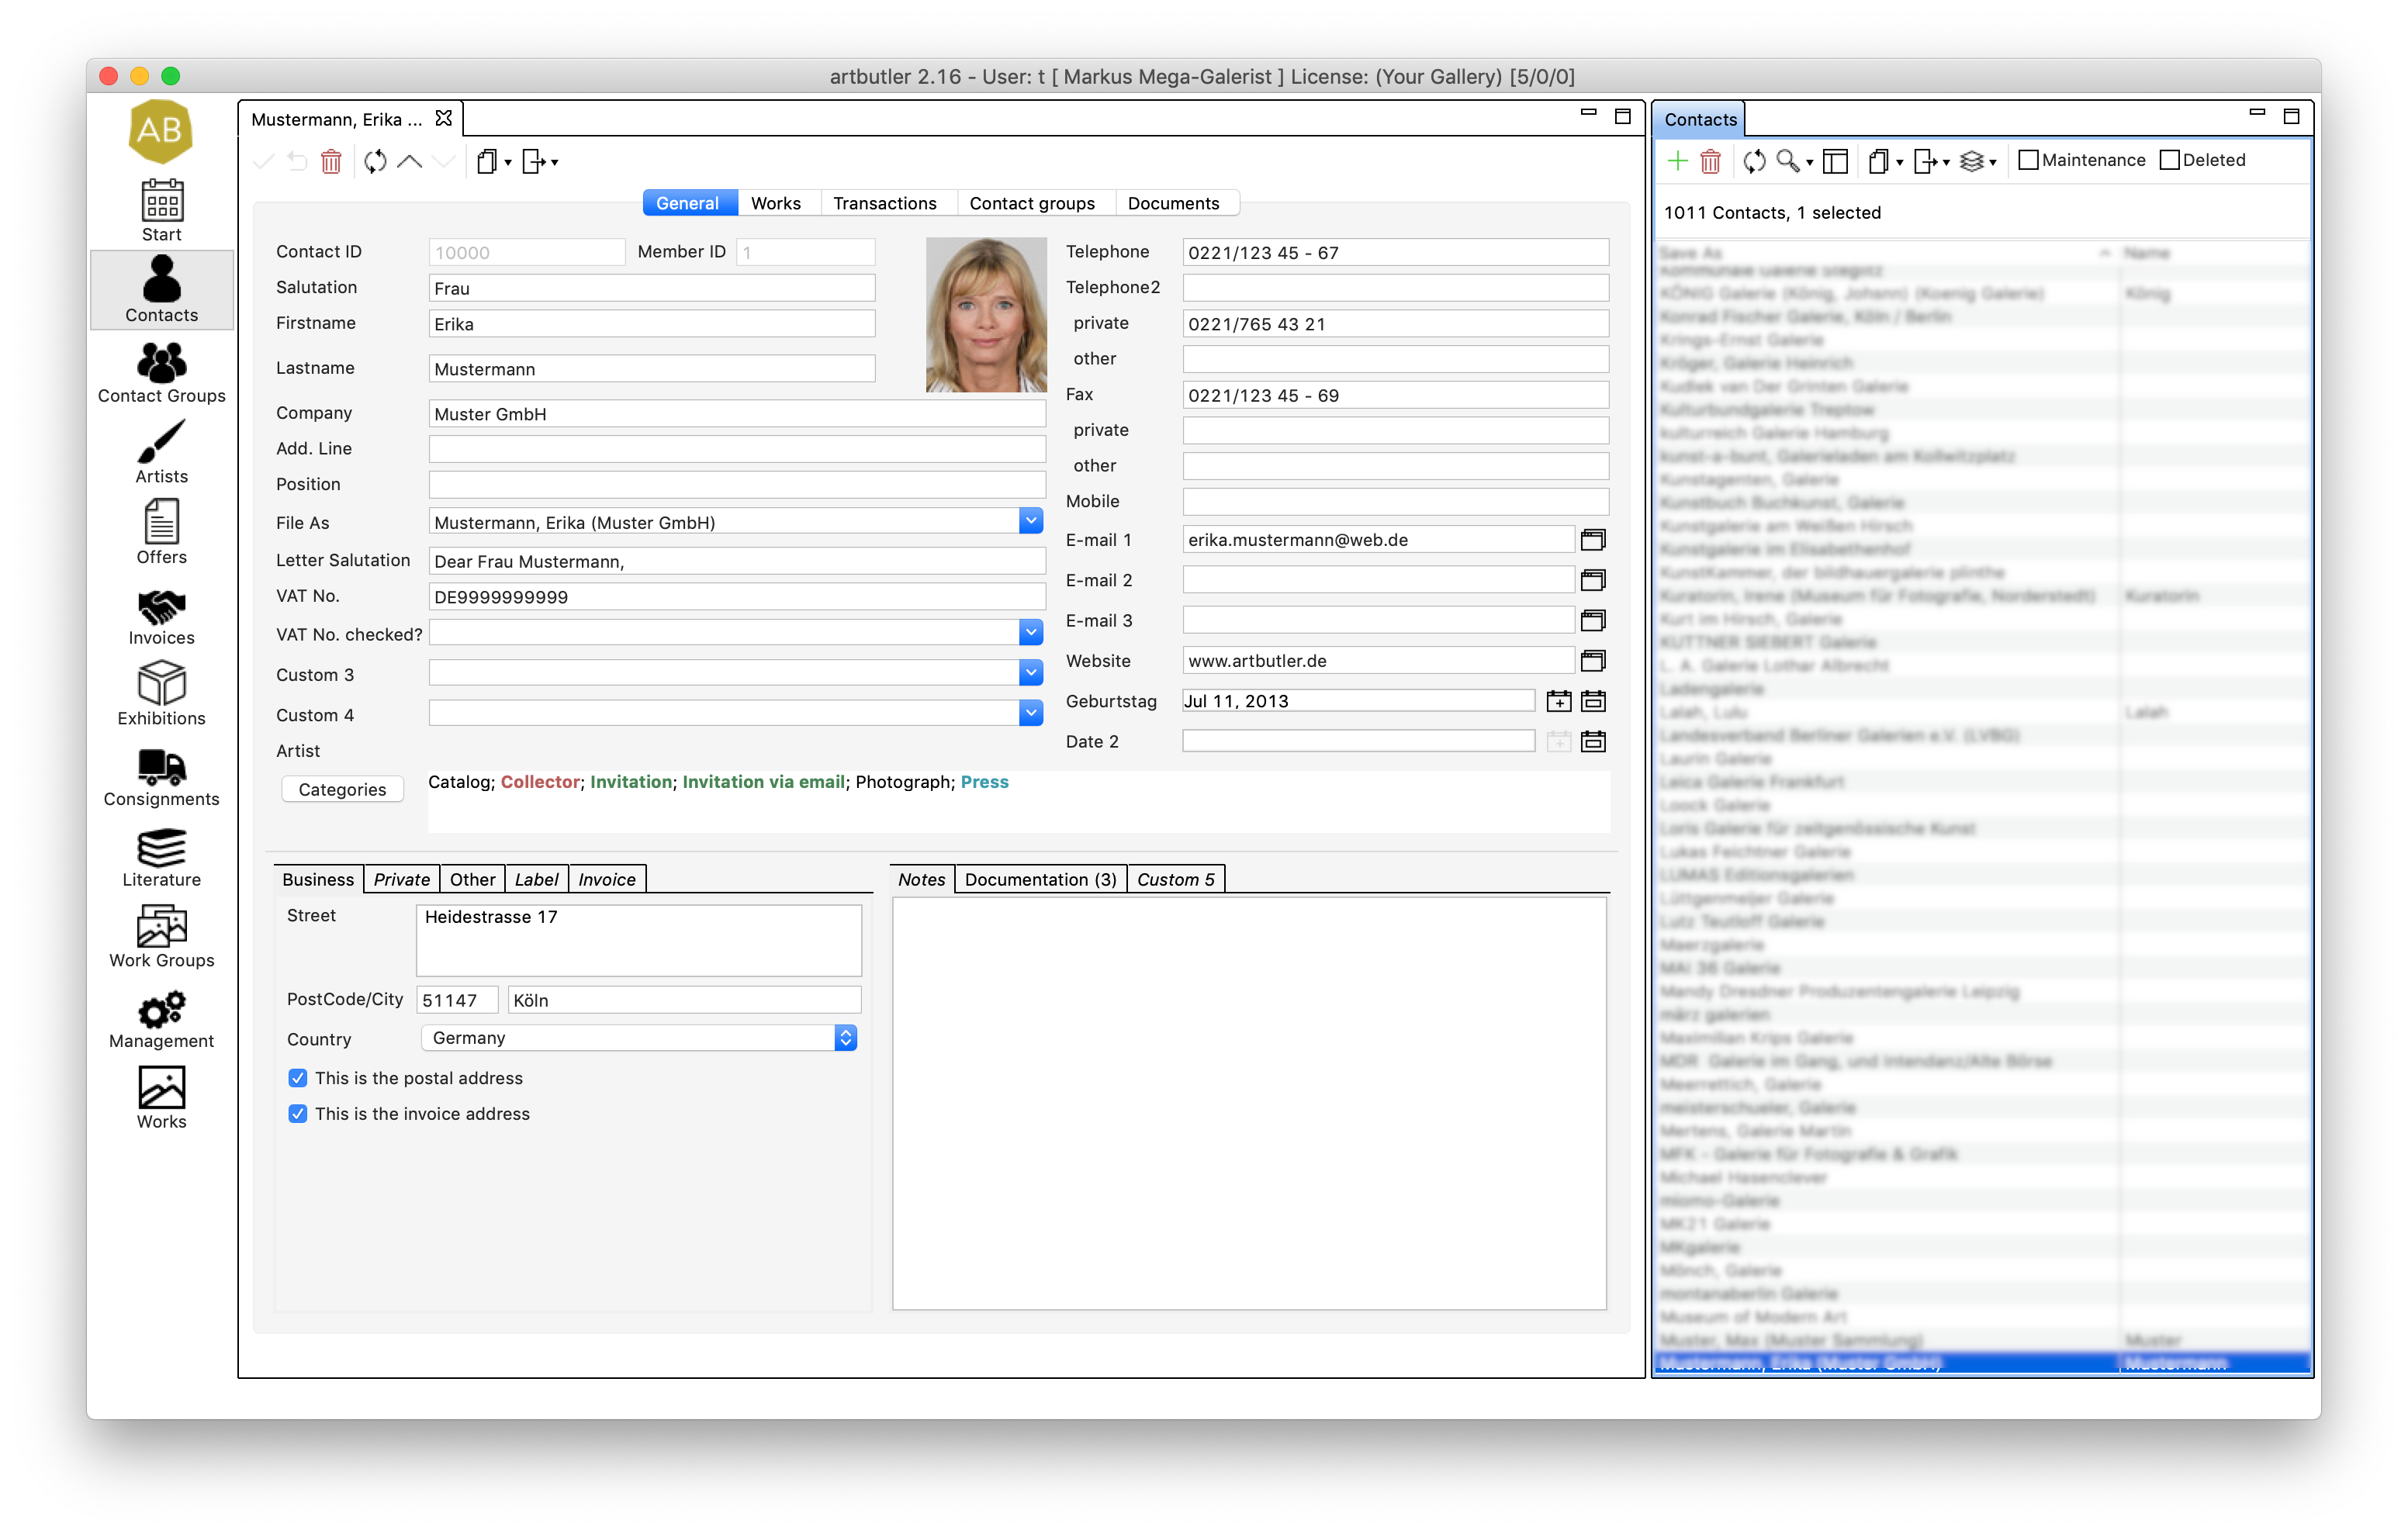
- Add all the necessary contact information for your contact, such as telephone number and e-mail address.
- It’s important to categorise your contacts. This is explained below.
- Once your categories have been added, select the categories button. A pop-up window will appear.
- Tick the boxes for the categories your new contact needs to be organised under and click Apply .
- There are 6 open and 2 date custom fields available for each contact, so you can add any extra information that is necessary for you, that might not otherwise be possible to add. This is explained below.
- Once you have chosen and edited your custom fields, you can fill in the necessary information with your contact’s profile.
- Once you have filled in all the information you need, click Save . Your contact’s profile has now been created.
2. Adding a Country
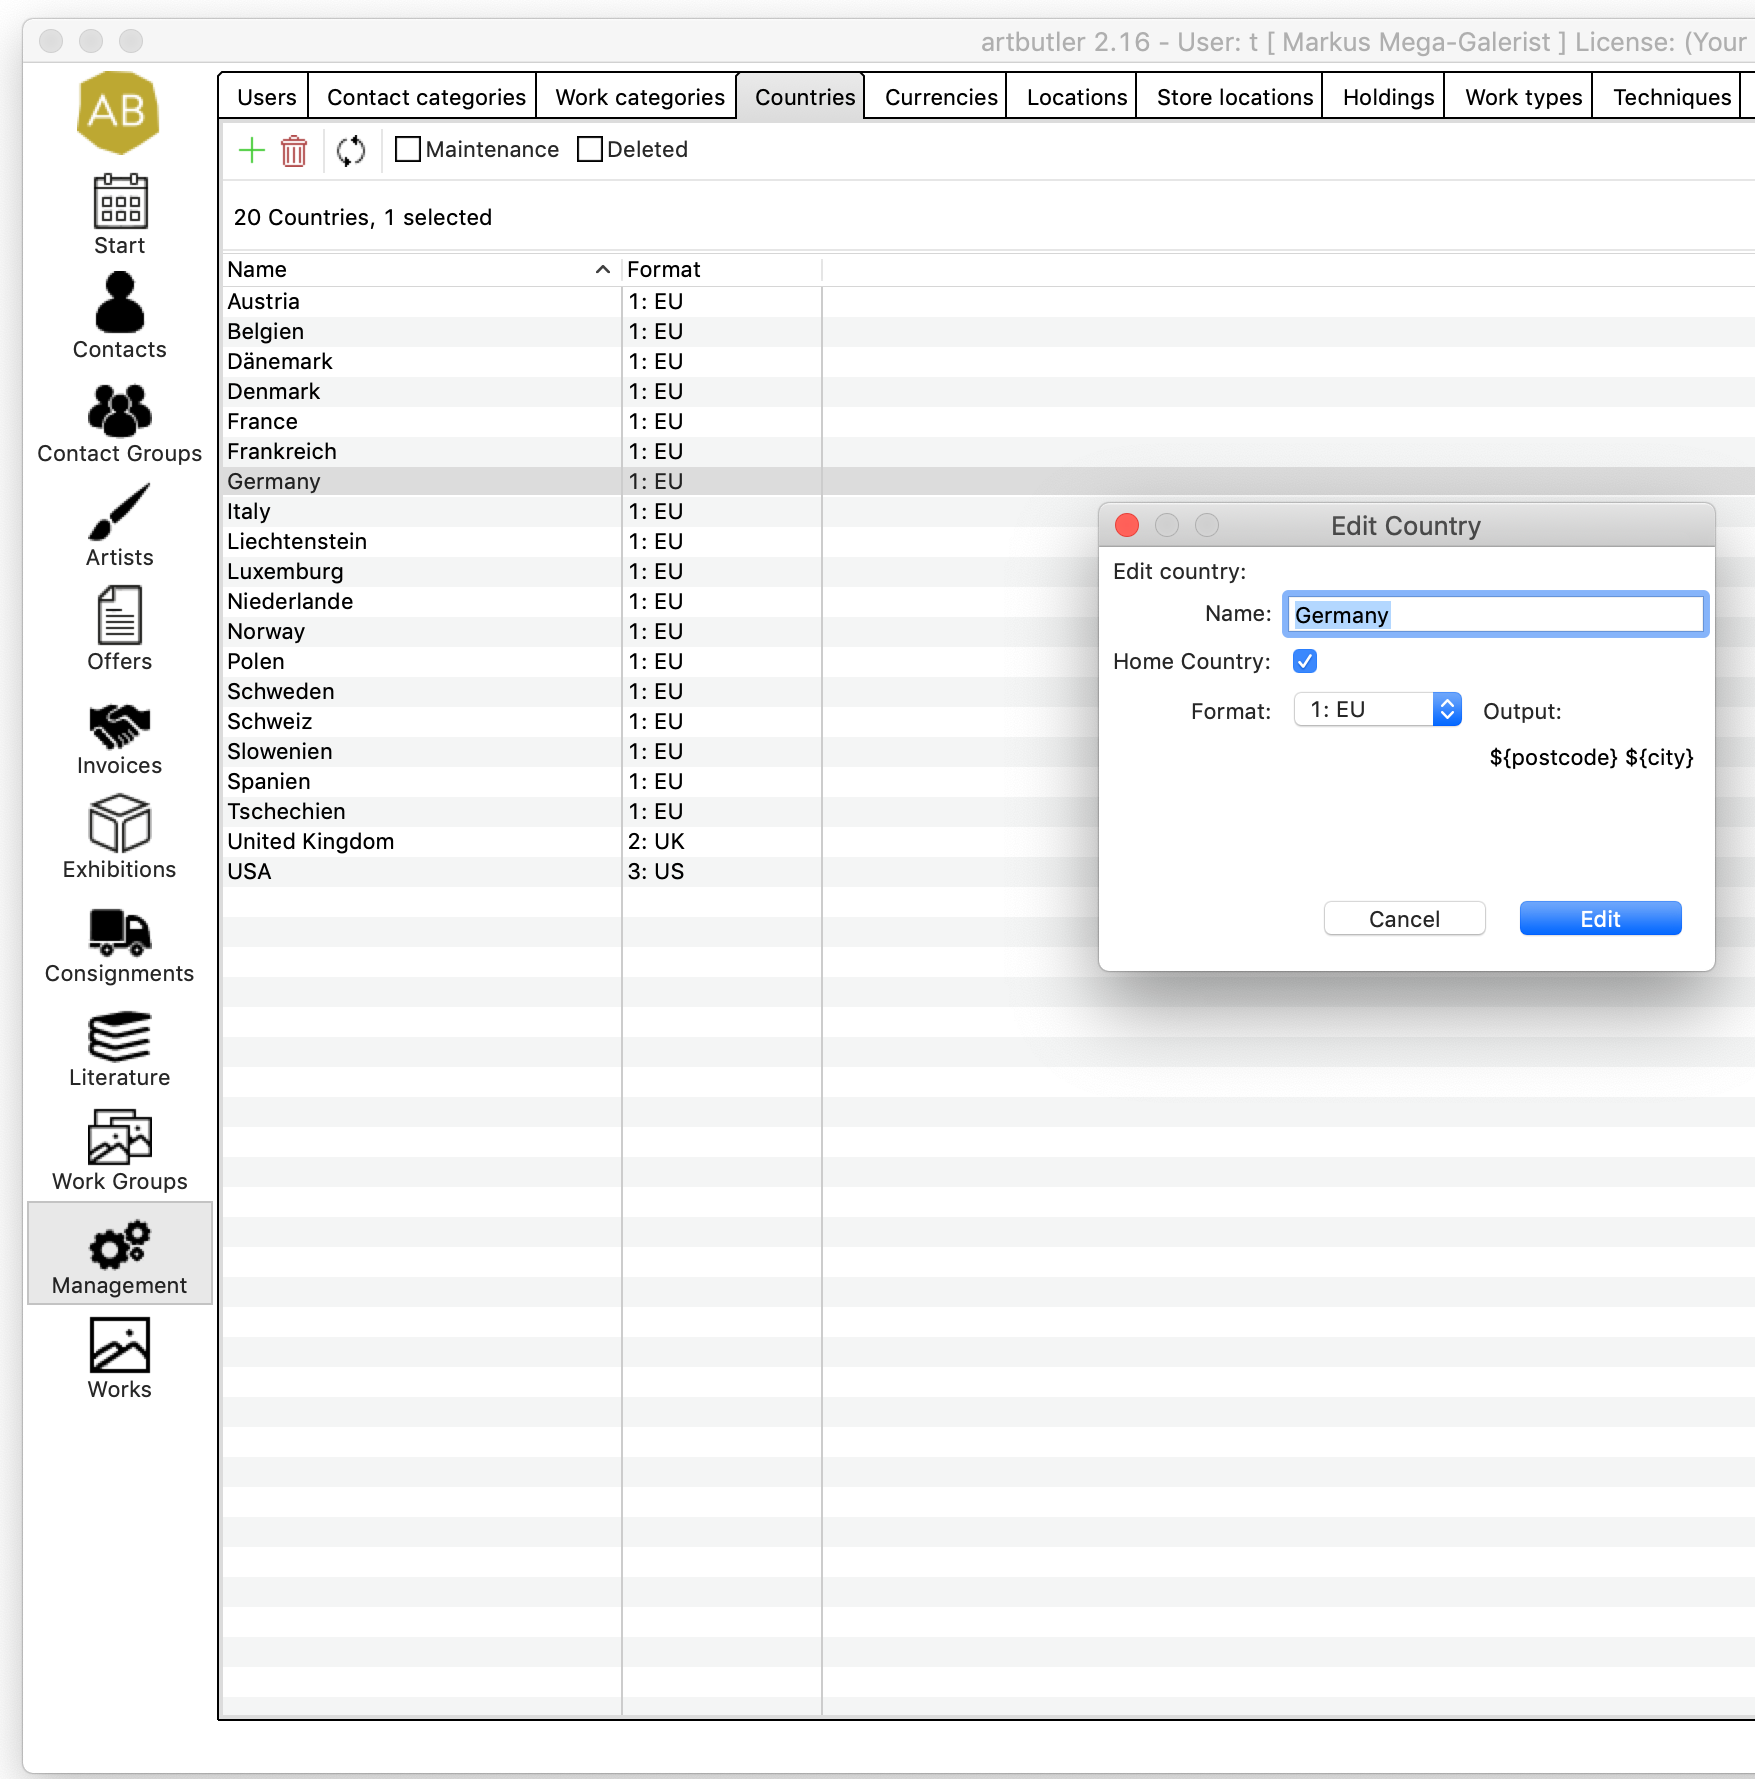
- Go to the Management section in the left hand side navigation menu.
- Select the Country tab at the top and a list of the available countries will appear.
- Select the New button and a pop-up window will appear.
- Add the name of the country and tick the box if it is your home country.
- Choose the format the address needs to appear in for the particular country:
- 1:EU: The postcode appears before the name of the city on the same line and the country is below
- 2:UK: The city appears before the postcode, before the country and each are on separate lines
- 3:US: The city appears before the postcode on the same line and the country is below
- Once selected, click Create . The Country will now appear in the list and can be added under your contacts.
3. Adding Categories

It’s important to categorise your contacts so that like contacts are grouped together and so they can be found again easily. You can give a contact as many categories as you like.
- Go to the Management section in the left hand side navigation.
- Select the Contact Categories tab at the top.
- Select the New button and a pop-up window will appear.
- In the open field type the name of the category you want to add and click Create .
- The category will now appear in the list under Contact Category and can be added under a contact.
4. Adding Customised Fields
Custom fields are a good way to add any extra information for a contact that might not otherwise have a field available to add. e.g: a company’s VAT number, or a contact’s birthday.
- There are 6 open and 2 date customised fields available under each contact.
- To specify how a field should be filled in and so you can remember what the information is in the future, you can personalise the custom field names.
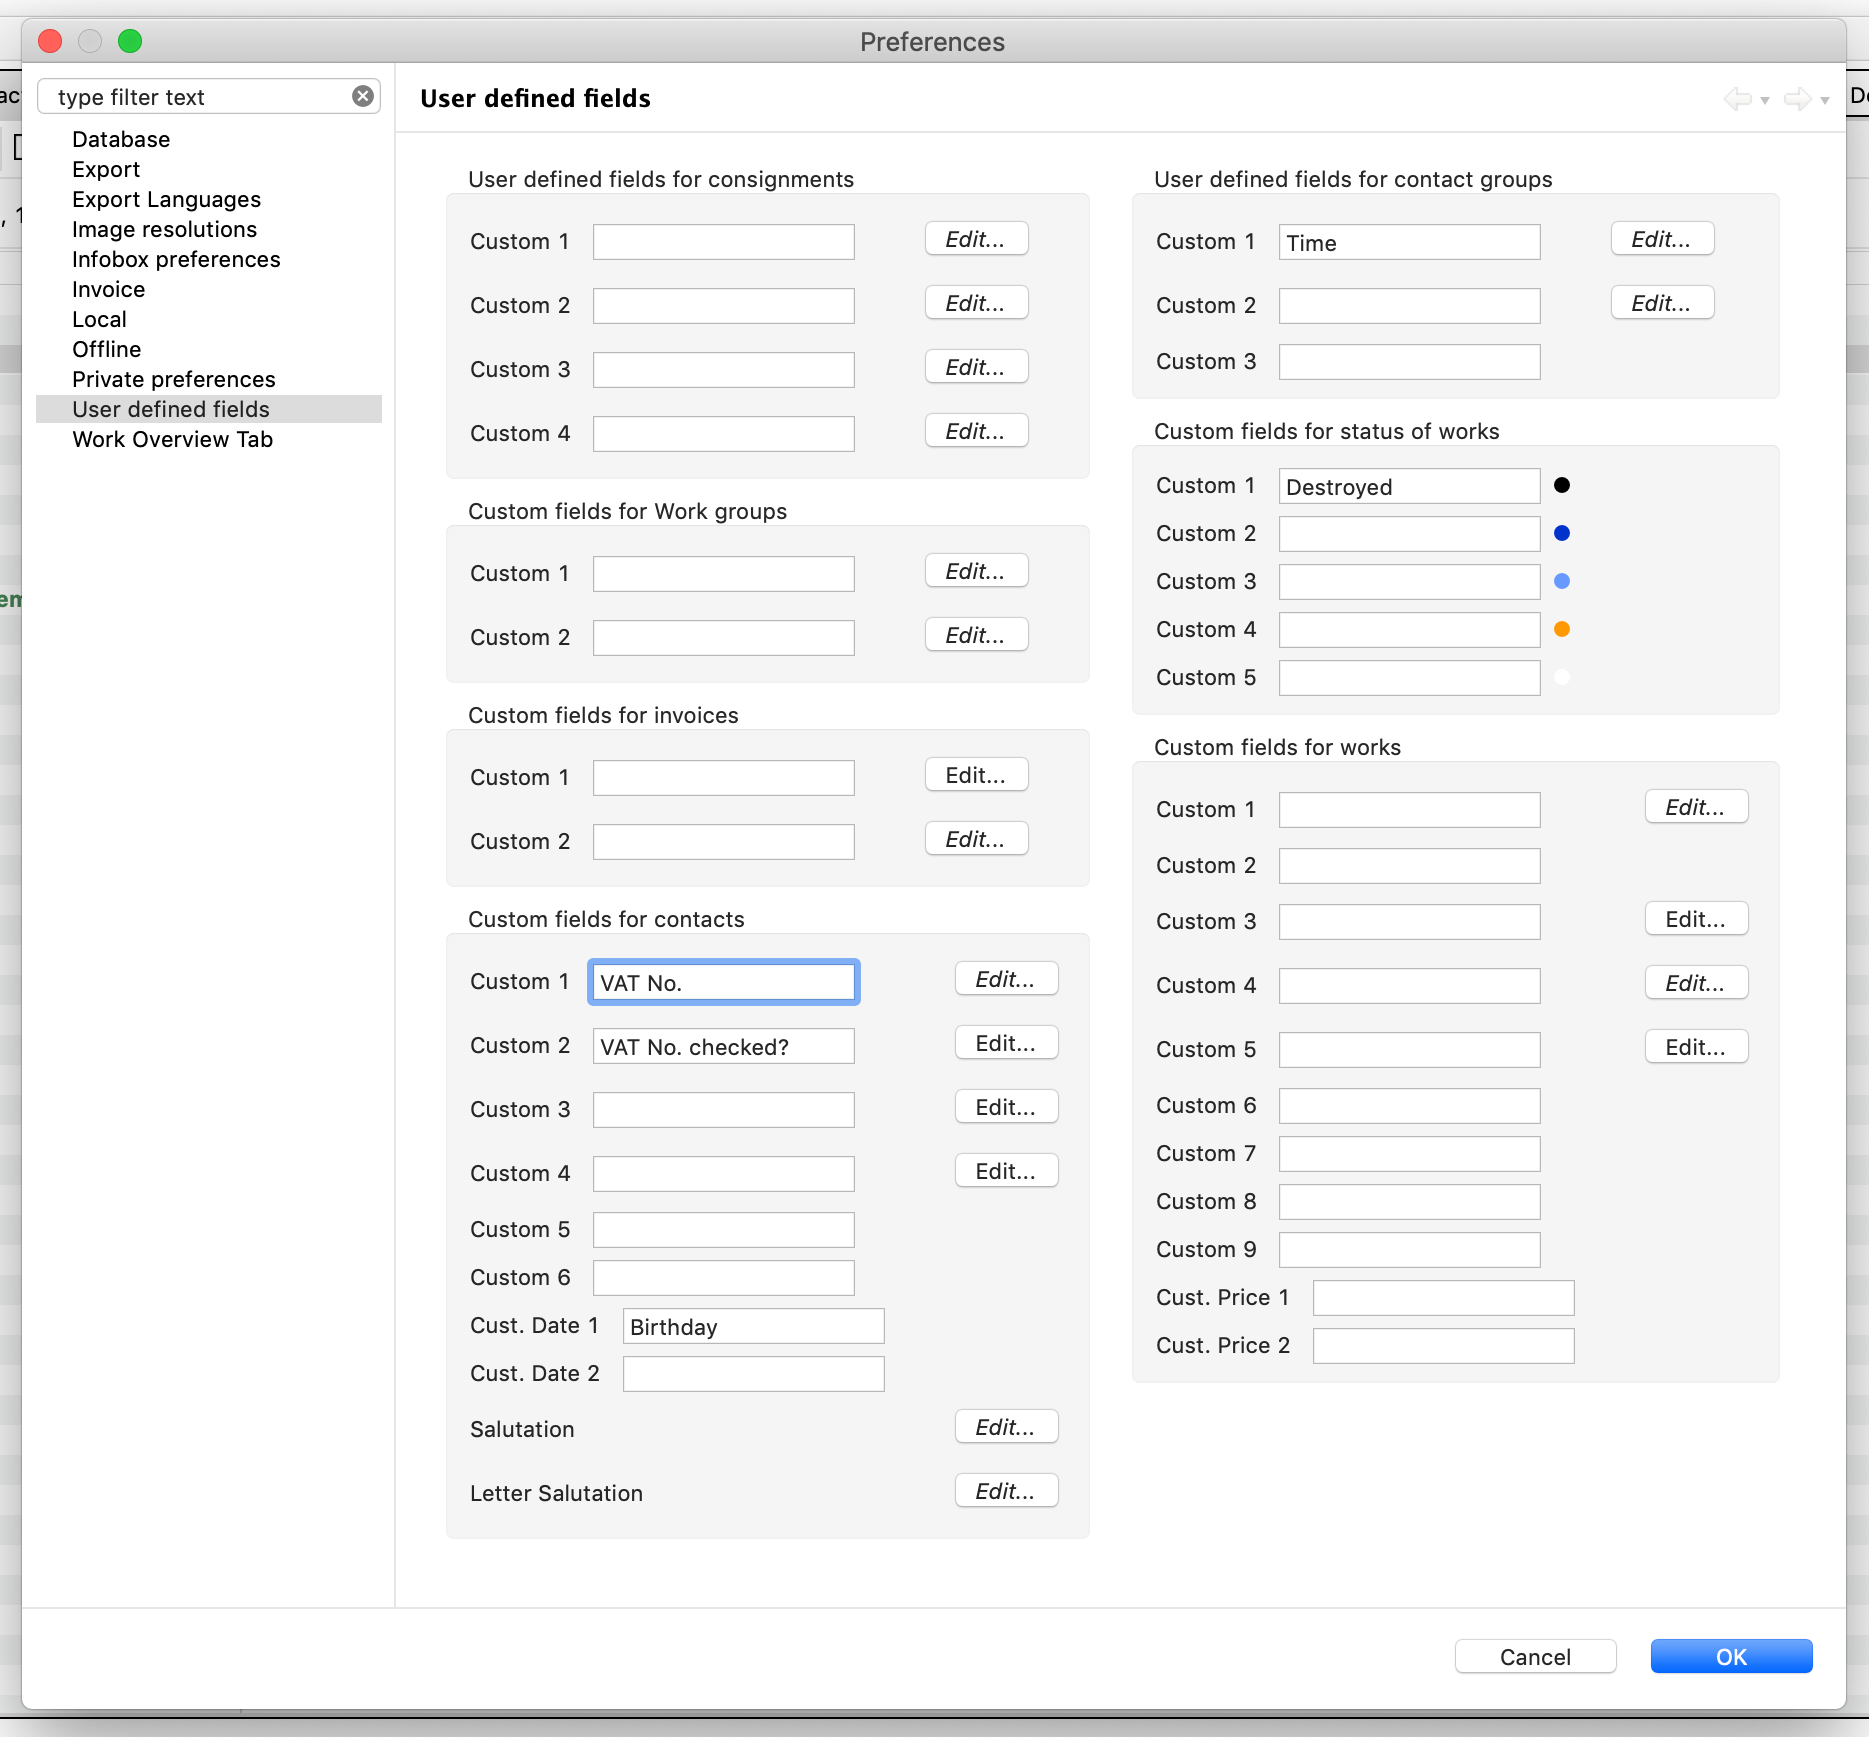
- Go to Preferences in the drop down menu of the ARTBUTLER tab at the top of the screen.
- Select User Defined Fields in the left hand side menu.
- On the right hand side you can see all the possible custom fields for each area of ARTBUTLER.
- Under Custom fields for contacts, you can add your personalised fields.
- For example:
- Custom 1: Could be for VAT numbers:
- Simply type ‘VAT No.’ in the open field.
- Custom 2: Could note if the VAT number has been checked or not to see if it is viable:
- Type ‘VAT No. Check’ in the open field.
- The edit button next to the open field allows you to create a drop down menu with selectable options.
- Click the Edit… button, a pop-up window with an open field appears.
- Type the selectable options you would like and divide them with a semi-colon ‘;’ in this case, ‘Not Checked; Checked’.
- Custom 1: Could be for VAT numbers:

-
- Custom 5: is a an open field next to notes where a lot of information can be added. This could be used for a contact’s bank details for example.
- Type ‘Bank Details’ in the open field.
- Date Custom 1: Could be used for contact’s Birthday’s
- Type ‘Birthday’ in the open field.
- Custom 5: is a an open field next to notes where a lot of information can be added. This could be used for a contact’s bank details for example.
- Once you have finished filing out the custom fields you want to use, click Apply and OK .
- Now when you go back to your contact, the fields will appear with the names you have given them and the drop down menu option where you have chosen it.