

1. System Requirements
- macOS 10.10 (Yosemite) to macOS 26 (Tahoe)
- Mac with an Intel or Apple Silicon processor (with the Rosetta 2 utility)
For information on the operating system and processor type, refer to the “Apple Menu > About this Mac“.
We recommend that you install Open Office, as it is necessary for you to customise your document templates.
We also recommend the following software for smooth support: Artbutler Remote
2. Installation Files
Download the latest version of Artbutler PRO. The file can be used for the initial installation as well as for updates of Artbutler PRO.
Download Artbutler PRO
3. Installationshinweise
- You will need administrator privileges on your Mac to install Artbutler PRO.
- If you want to use Artbutler PRO on more than one computer, you must install the same version of Artbutler PRO on each computer.
- Make sure your Mac meets the system requirements.
- Before updating Artbutler PRO, make a backup of your database in artbutler > Backup .
- Artbutler PRO must be closed on all computers during the installation of an update.
4. First installation and update
- Start the Artbutler PRO installation file with a double click.
- As of OS X 15 Sequoia, Mac users usually receive the following security warning, please click on ‘Done’ in the dialogue:

On your Mac, select ‘Apple Menu > System Settings’ and click on ‘Privacy & Security’ in the sidebar. Go to ‘Security’ and then click on ‘Open anyway’. This button will be available for about an hour after you try to open the app.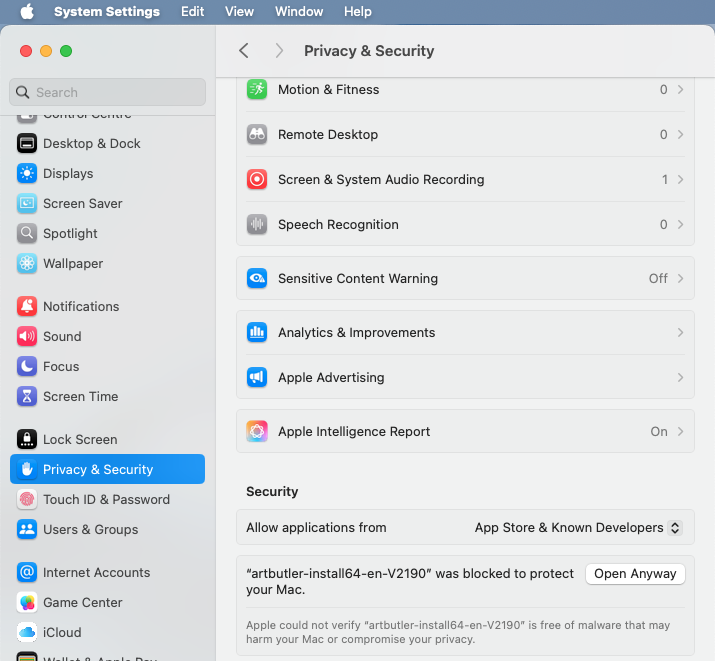
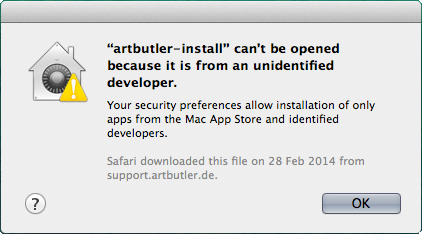
Click on ‘Open anyway’ again and enter the login password for your Mac and click on ‘OK’. - Mac users up to OS X 14 will usually receive the following or similar security warning:

Cancel this warning and start the Artbutler PRO installer by right-clicking on the installation file and selecting ‘Open’ instead of double-clicking. The warning message will appear again, but you can now start the installation by clicking ‘Open’. - Confirm the suggested installation location by clicking Next.
- If possible, allocate 512 MB of RAM. Depending on the capacity of your Mac and the size of your database, you can allocate up to 1024MB here.
- The installer will ask for authentication. You will need administrator privileges on your Mac to complete the installation. Enter your computer password and click Next. There is no need to change the default settings.
- When the installation is complete, click Close.
Artbutler PRO has now been successfully installed on your Mac.
4. Starting Artbutler PRO for the First Time
- To launch Artbutler PRO, click on the icon you have just created.
- When installing Artbutler PRO for the first time, you will be asked to connect to the database:
- Install on one computer only: Leave the database and password fields empty.
- Installation on several computers: Enter the name (recommended) or IP address of the Artbutler server.
If you have booked database hosting with Artbutler, you will have received your login details by email.
Tip: If you have a colleague with a working connection to your Artbutler server, you can view the two entries in the menu bar under ‘artbutler > Preferences > Database’.
See Server Installation for more information. A password should be set if the server is accessible from the internet, ask your administrator or look up the password on a computer that is already connected.
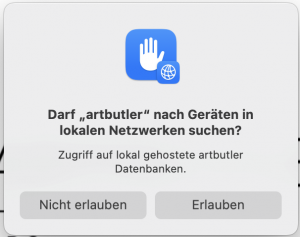
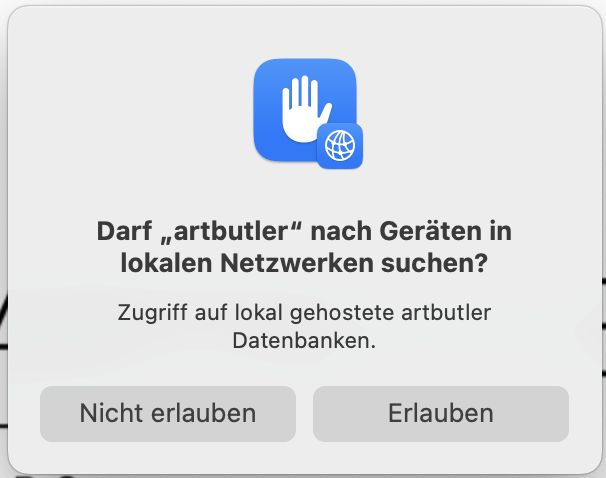
- Attention: Mac users must allow local network access from OS X 15 Sequoia onwards:
- You will then be asked to choose a username and password for a new database. Please make a note of your login details as you will be asked for them each time you start Artbutler PRO.
- You will now be asked to create folders for images and export templates. If you are installing on a single computer, we recommend that you use the suggested folders. If you want to use Artbutler PRO on multiple computers, please create folders that can be accessed by all computers on the network.
- We have already created initial export configurations for you in Artbutler PRO. Please download our standard templates and copy them into your templates folder.
- Now select the base currency relevant to your accounting. You will be able to use any currency for your pricing information in Artbutler PRO.
- If necessary, import the licence file that was sent to you by email in the menu bar under ‘Help > Import licence’.
You are now ready to start using Artbutler PRO!
1. System Requirements
- Windows XP or higher
- Open Office for editing document templates and exporting documents.
Please install before installing Artbutler PRO! (This only applies to the client workstation, not the Artbutler server)
We also recommend the following software for smooth support: Artbutler Remote
2. Installation Files
Download the latest version of Artbutler PRO. The file can be used for the initial installation as well as for updates of Artbutler PRO.
Download Artbutler PRO
3. Installationshinweise
- You will need administrator privileges on your PC to install Artbutler PRO.
- If you want to use Artbutler PRO on more than one computer, you must install the same version of Artbutler PRO on each computer.
- Make sure your PC meets the system requirements.
- Before updating Artbutler PRO, make a backup of your database in artbutler > Backup .
- Artbutler PRO must be closed on all computers during the installation of an update.
4. First installation and update
Note: On Windows, please install Open Office before installing Artbutler.
- Start the Artbutler PRO installation file with a double click.
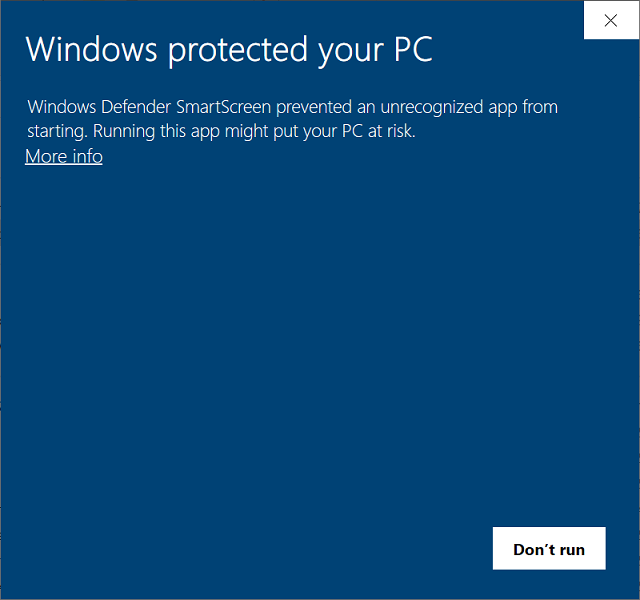
- If the following security warning appears, please click on ‘More info’:
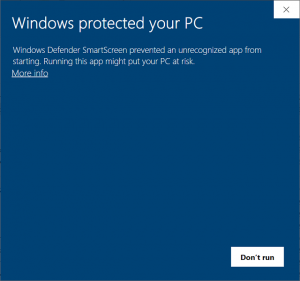
You will then see ‘Run Anyway’ in the bottom right-hand corner, click it. - Confirm the suggested installation location by clicking Next.
- If possible, allocate 512 MB of RAM. Depending on the capacity of your Mac and the size of your database, you can allocate up to 1024MB here.
- The installer will ask for authentication. You will need administrator privileges on your Mac to complete the installation. Enter your computer password and click Next. There is no need to change the default settings.
- When the installation is complete, click Close.
Artbutler PRO has now been successfully installed on your Mac.
4. Starting Artbutler PRO for the First Time
- To launch Artbutler PRO, click on the icon you have just created.
- When installing Artbutler PRO for the first time, you will be asked to connect to the database:
- Install on one computer only: Leave the database and password fields empty.
- Installation on several computers: Enter the name (recommended) or IP address of the Artbutler server.
If you have booked database hosting with Artbutler, you will have received your login details by email.
Tip: If you have a colleague with a working connection to your Artbutler server, you can view the two entries in the menu bar under ‘artbutler > Preferences > Database’.
See Server Installation for more information. A password should be set if the server is accessible from the internet, ask your administrator or look up the password on a computer that is already connected.
- You will then be asked to choose a username and password for a new database. Please make a note of your login details as you will be asked for them each time you start Artbutler PRO.
- You will now be asked to create folders for images and export templates. If you are installing on a single computer, we recommend that you use the suggested folders. If you want to use Artbutler PRO on multiple computers, please create folders that can be accessed by all computers on the network.
- We have already created initial export configurations for you in Artbutler PRO. Please download our standard templates and copy them into your templates folder.
- Now select the base currency relevant to your accounting. You will be able to use any currency for your pricing information in Artbutler PRO.
- If necessary, import the licence file that was sent to you by email in the menu bar under ‘Help > Import licence’.
You are now ready to start using Artbutler PRO!