
This article will show you how you may customise displayed list columns – work list, contact list, lists for invoices, offers, etc. In this way, you’ll gain a quick overview of specific information in your database.
Select Columns
1. Above the list, click the symbol featuring the chart.
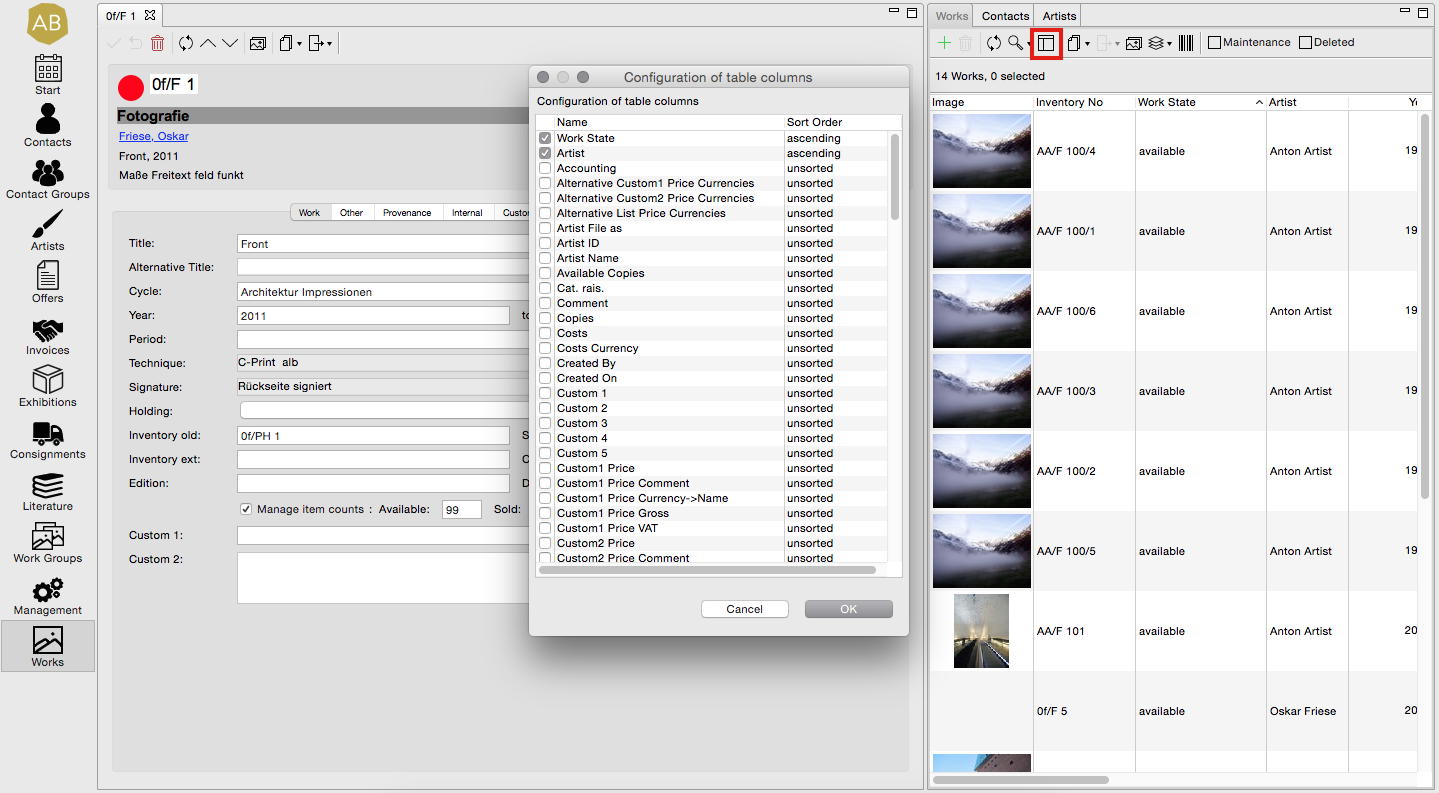
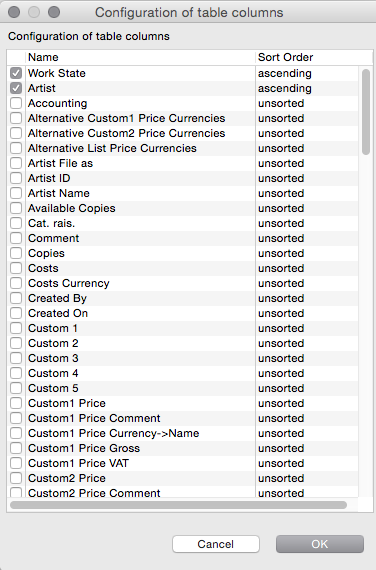
2. From the pop-up window select the columns you want displayed in future and confirm by clicking OK.
Sort by Hierarchy
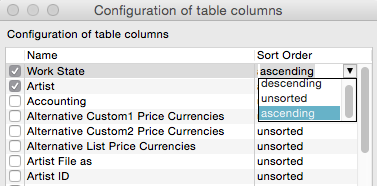
You may sort charts by creating hierarchies. Set the order in the columns’ pop-up window.
Set Column Order
Click a column’s title and drag it to the desired position. A simple click on the column’s title will sort the list according to this column, a further click will revert the sorting order.
Zoomed View
For a better overview, especially when many columns are involved, you may zoom in by double clicking on the list’s title (works, contacts, change of ownership, etc). A further double click resets the current view to its default values.
Default view
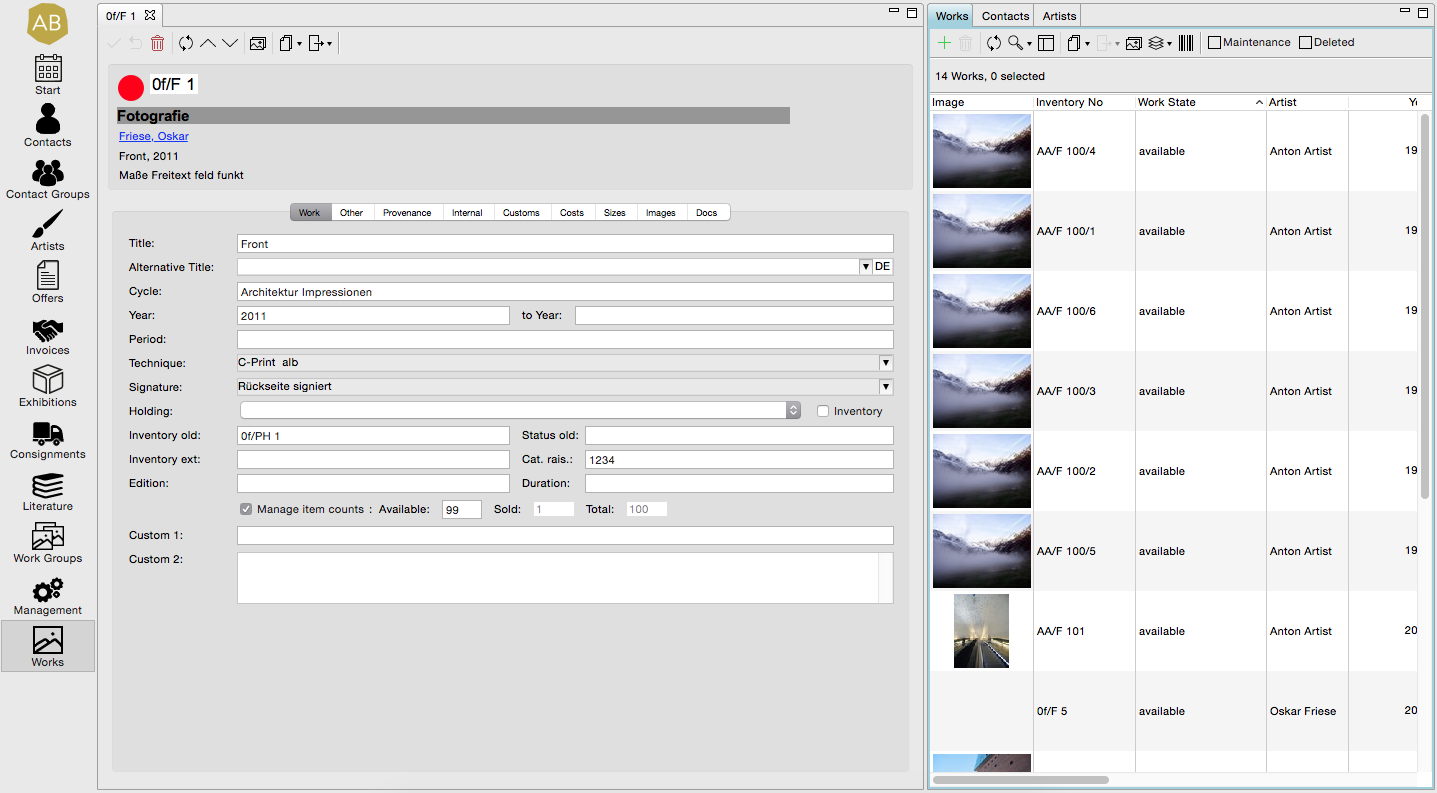
Max. view
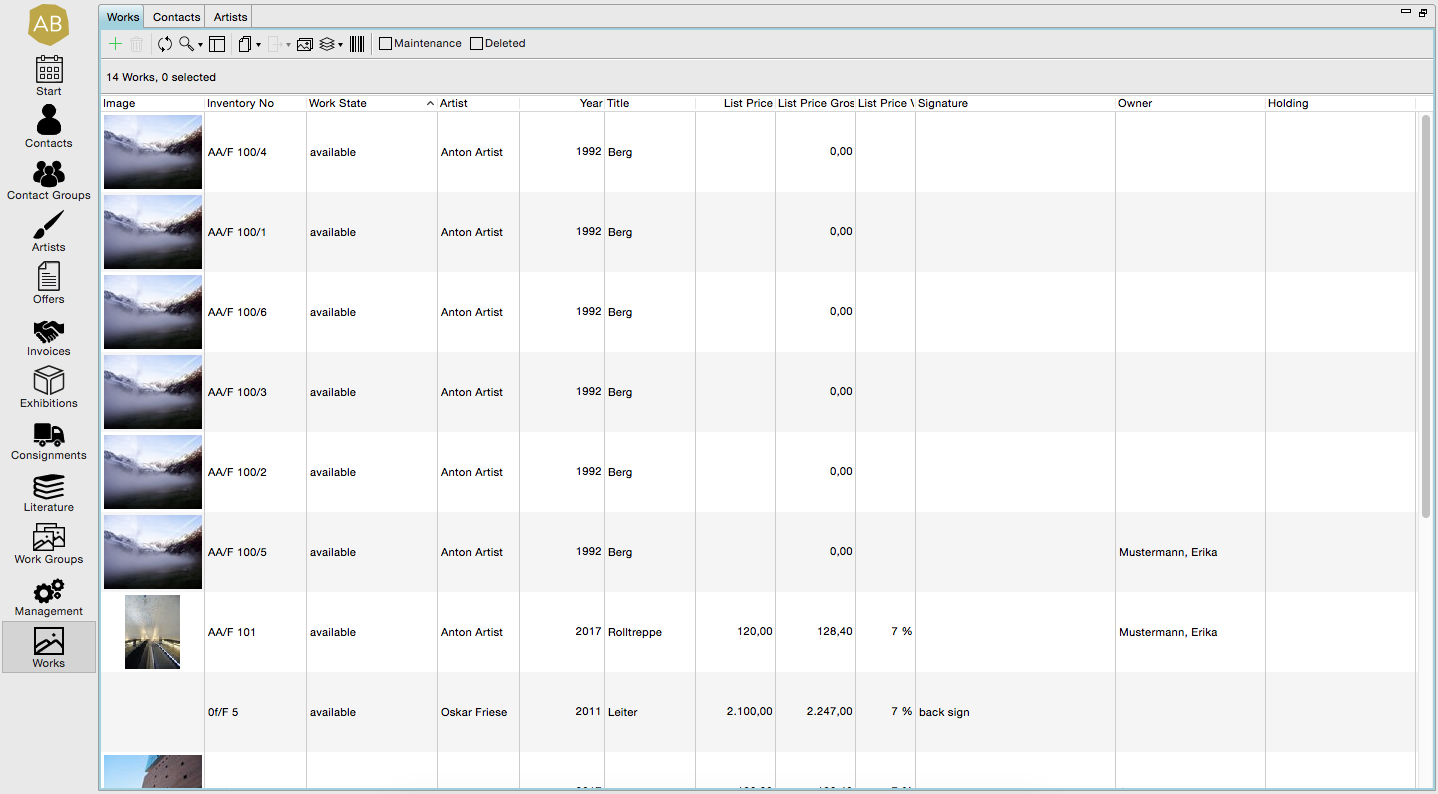
Save Column Configuration
ARTBUTLER will help you save your chart’s settings for certain operations.
1. Go to the triangle next to the  and select Configure …
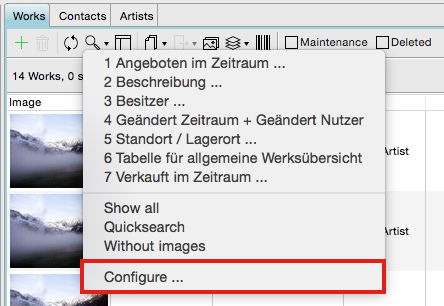
2. In the newly opened window you may create your own filters as well as save your own chart settings.
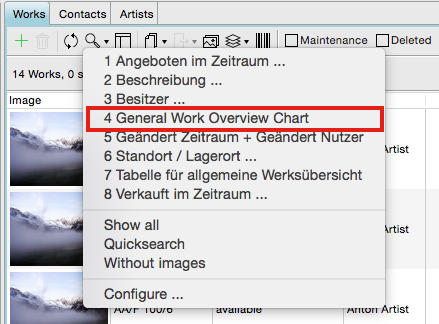
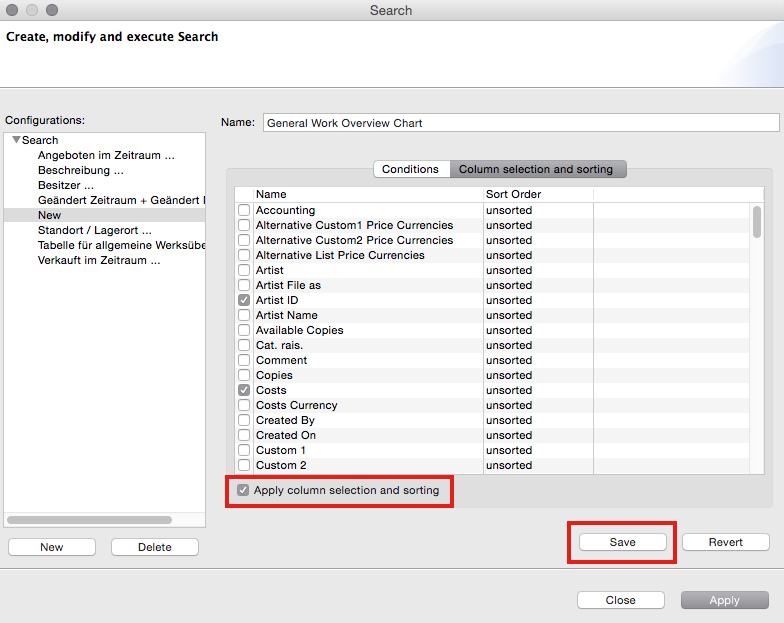
3. Select New and enter a title for the chart. Example: “General Work Overview Chart”
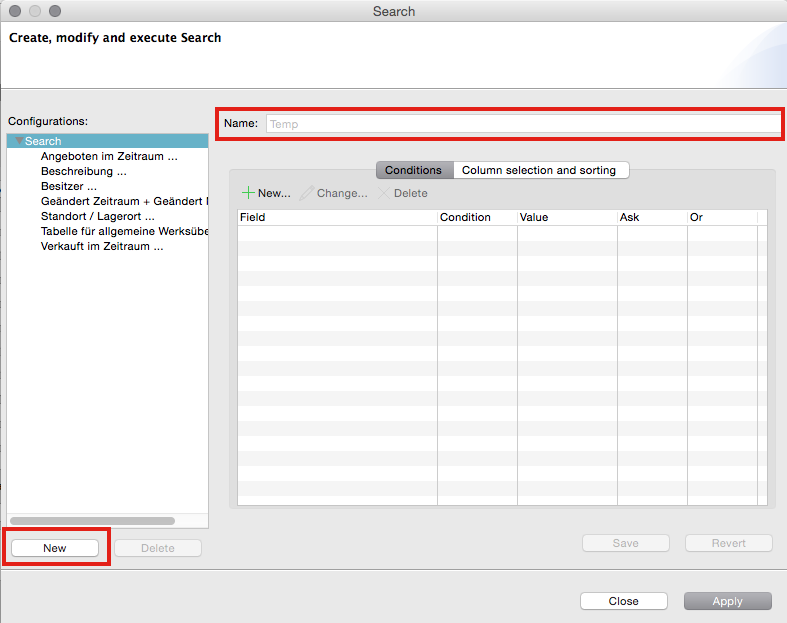
4. Click Column Selection and Order and select topics, selection, and if necessary the hierarchy.
5. Click Apply Column Selection and Order and thenSave.
If you wish to apply a chart, go to the triangle next to the at the top of your list, and select the relevant application. The chart will now appear according to your settings.