
This article will show you how to add an exhibition to ARTBUTLER, how to link an external document to it and how to export a document form it.
1. Creating an Exhibition
Once you have added a few works into your system you can create an exhibition from a selection of them.
If you need to see how to add works, please see the Adding a Work article.
- Go to Exhibitions in your left hand side navigation.
- Select the New
 button at the top of your right hand side list view.
 - A blank exhibition file will appear in your middle detail view. Add the title of the exhibition.
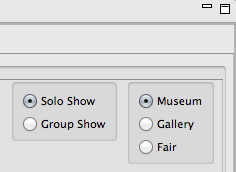
- Select if the exhibition is a solo or group show, and if it’s at a museum, gallery or fair, by selecting the buttons at the top on the right hand side.
- To add a location, it must first be added into your contacts. To learn how to add a contact, please view the Adding a Contact article.
- Once you have the location added into your contacts, click on the Contacts tab at the top of your right hand side list view.
- Select the Search
 button. The quick filter pop-up window will appear. Search for the location contact via name, city, or postcode etc. and click OK.
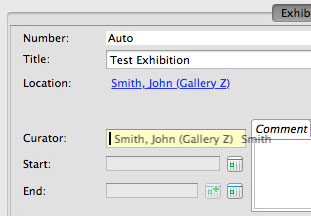
 - Once you have found the contact profile, select it in your right hand side list and drag it over to the empty yellow field next to Location:.
- The same applies for adding a curator.
- You can add the start and end dates of the exhibition by selecting the Calendar
 button. A pop up window will appear where you can select the date/s from a calendar, before clicking Apply.
 - Once both dates are added, you can add them into the calendar on your start page if you wish, by selecting the Add Calendar
 button next to the End date. Another pop-up window will appear. If the original dates and location are ok, simply select Create. Otherwise you can amend these details for your calendar. You can view Using the Start Page to learn more about the calendar.
 - You can now add the artworks. Select the Works tab at the top of your right hand side navigation.
- Select the Search button and search for the artists or artworks you would like to add to your exhibition.
- Once you have found them, you can drag the works individually or select several at a time, and drag them over into the open works field of the exhibition profile.
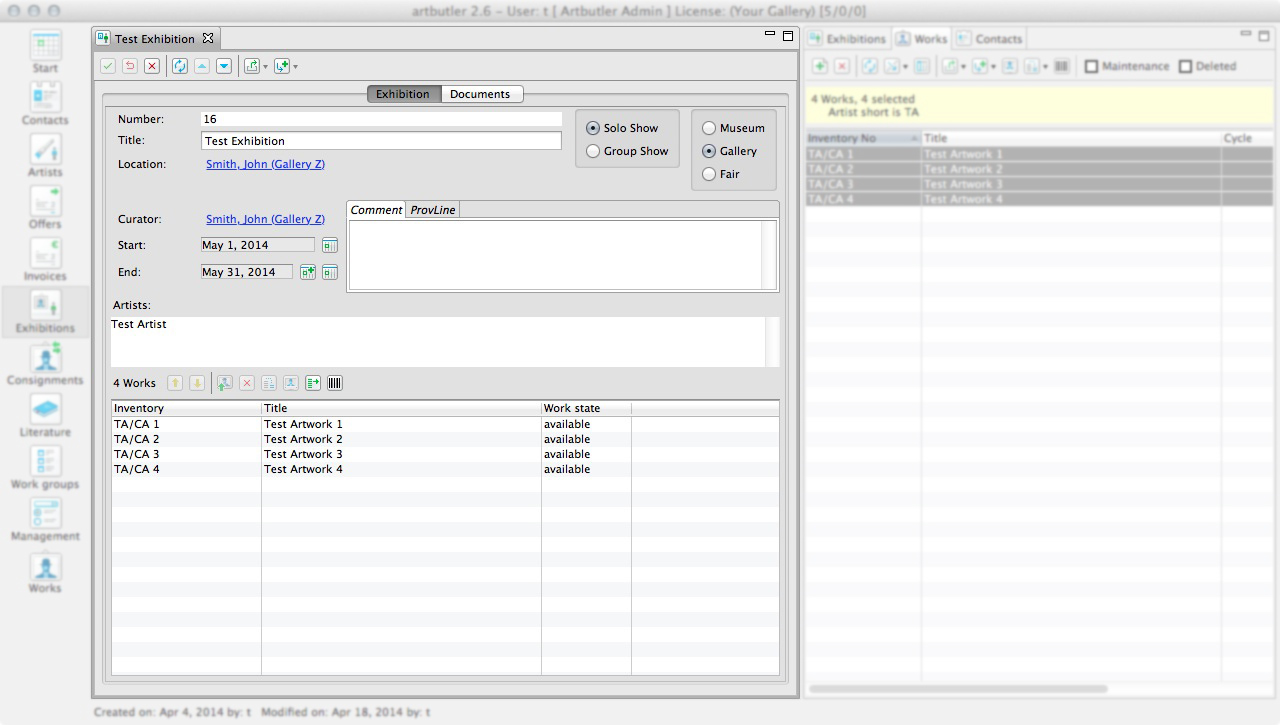
- You can rearrange the order of the artworks to suit you. By clicking on either the inventory, Title, or Work Status columns, the works will be arranged categorically in either order: e.g: alphabetically or in reverse alphabetical order when Title is selected. You can drag and arrange each work in the list manually to change the order also. Once finished, click Save.
2. Linking a Document
You can also add a document to the exhibition for a reference. e.g: a PDF of the exhibition catalogue.
- Select the Document tab within the exhibition profile, it will take you to the Document view.
- Select the New button. A pop-up window will appear.
- You can give the document its own title. Click the Document button and another pop-up window will appear. You can select the document you wish from your computer or network. Once selected, click Open, then click Create Link, to link the file to ARTBUTLER.
- The document will now appear in your list. By selecting it and clicking the Open Document button, or right clicking on it and selecting open document, or simply double clicking it, the document will automatically open for you.