

This article will explain how to move your ARTBUTLER database server to a new location, to change the installation from a local database to a server-based installation, or how to replace the database from a back-up version.
Guide for Mac OS X
- In ARTBUTLER, go to artbutler > Backup and create a backup of your database. Then everyone should close their Artbutler programs in your network.
- Install the ARTBUTLER server incl. the default database (!) on the desired computer.
- After installation the server is already running and needs to be stopped in order to replace its still empty default database. To stop the server open the Terminal app located in Applications > Utilities. Copy and paste the following command into the window and hit enter: sudo launchctl unload /Library/LaunchDaemons/de.teamspring.artbutler.hsql.plist You will be asked for the password of the logged in user with admin privileges on this computer. You won’t see anything while you enter your password and the cursor won’t move, which is normal: Please just type it and hit enter.
If you run into an error message /Library/LaunchDaemons/de.teamspring.artbutler.hsql.plist: No such file or directory you are using an outdated server version: please re-install the server with the latest version of the server installer. - In the Finder, choose Go > Go to Folder… from the menu, copy the following path /var/serverhsqldb/databases/ into the dialogue and click Open
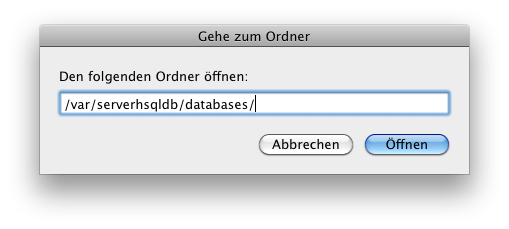
You are now in the folder where the database files are stored. If there is an artbutler.lck file available, the server is still running, please make sure to stop it first before you proceed! Remove all files, i.e. artbutler.properties, artbutler.script and sometimes artbutler.log, and replace with those from your database backup ZIP-file you’ve created in step 1. The Finder will ask you to authorise this so an admin password for the server computer is required here. - Restart the ARTBUTLER service again using the Terminal application with the following command: sudo launchctl load /Library/LaunchDaemons/de.teamspring.artbutler.hsql.plist
- If the network name or IP address of the new server has changed, make sure that the new server address is set on all ARTBUTLER clients in your network. In ARTBUTLER, go to artbutler > Preferences > Database > Server and update the name or IP address of the server.