STEP 1 – Install ARTBUTLER
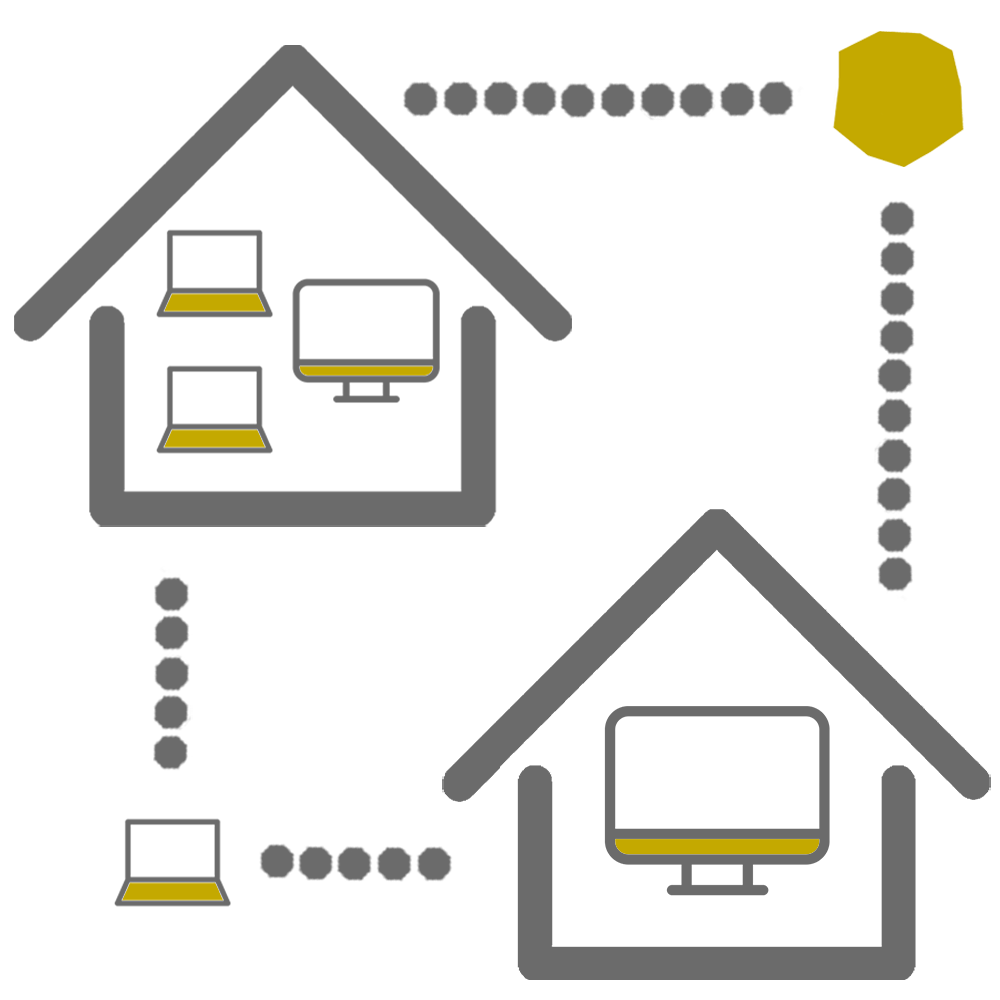
You can use ARTBUTLER in different ways, depending on the number of workplaces and locations.


- Follow the steps in our article ARTBUTLER Installation.
- Import your license as follows:
- Save the file we sent you in the Getting started e-mail to your desktop without opening it.
- Start ARTBUTLER PRO and open the menu item Help > Import License.
- Now simply select the saved file.
- Download and install the default export templates.
- Done!
- First install the ARTBUTLER Server on the computer you want to use as the server.
- Follow the steps in our article ARTBUTLER Installation.
- Import your license as follows:
- Save the file we sent you in the Getting started e-mail to your desktop without opening it.
- Start ARTBUTLER PRO and open the menu item Help > Import License.
- Now simply select the saved file.
- Download and install the default export templates.
- Done!
- Follow the steps in our article ARTBUTLER Installation.
- During the ARTBUTLER installation you will be asked for the access data of your database. We have sent this to you in the Getting started e-mail.
- Make sure that your access data to the remote server is entered on all computers under artbutler > Preferences > Database.
- Download and install the default export templates.
- Done!
STEP 2 – The first steps in the program
You are in the program – what now?
First we explain the user interface and show you how to fill your database with essential data: Contacts, artists and works.
It is important to follow the correct order. A work can not be added without the previously created artist record.
User interface

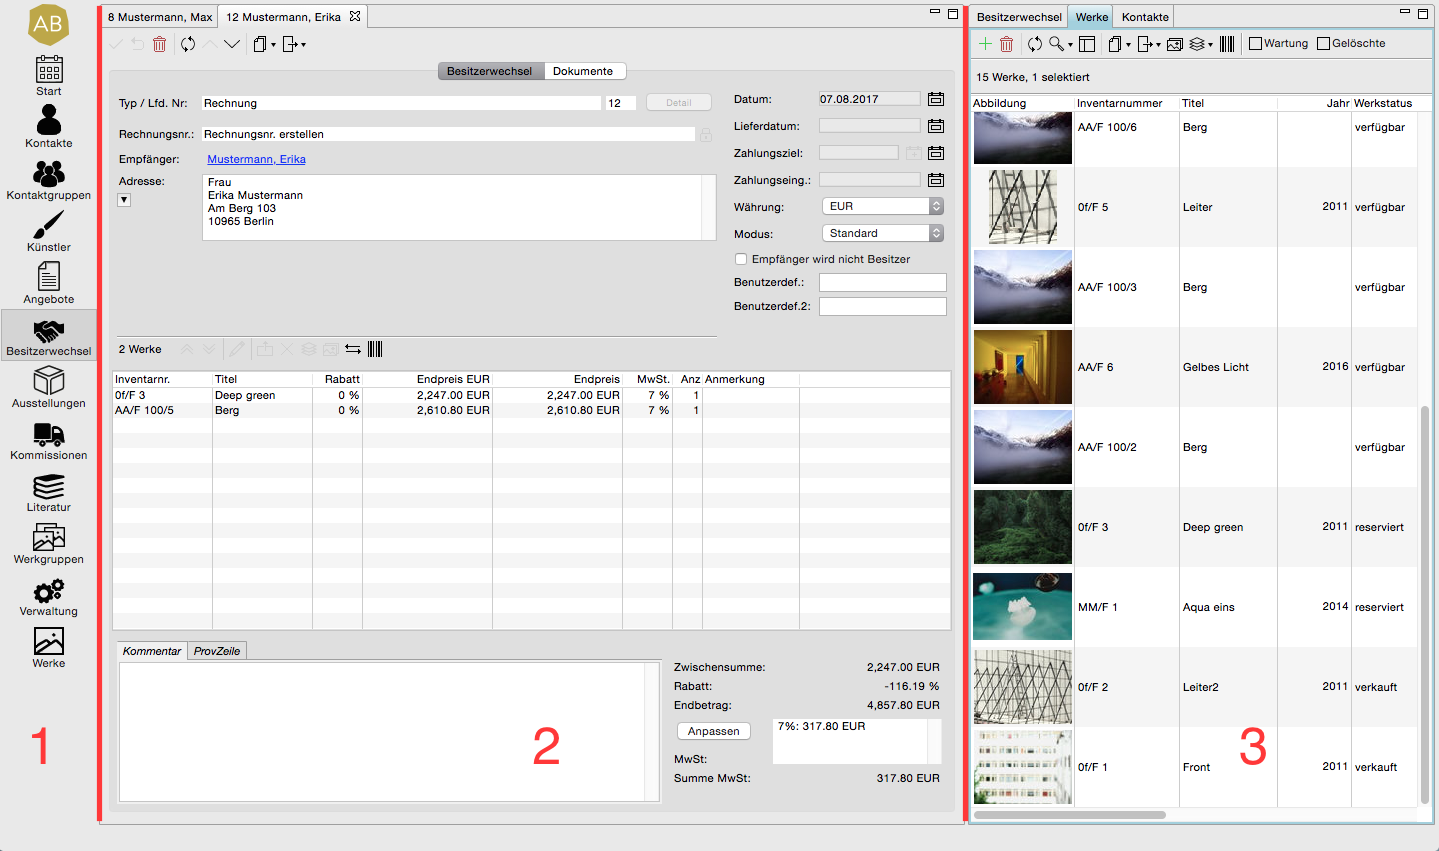
In our matching article you will learn how the interface is structured, the essential properties of the areas, data records and lists: The User Interface.
1. Add contacts

Contacts are among your most important data. In our article we describe how you can create new contacts and assign them to user-defined categories: Adding a contact.
2. Add artists

In our article you can learn how to create your artists, how to store related information and how to retrieve it at any time: Adding an Artist.
3. Add works

Works are the heart of your data. Learn in our article how to create works and all important information about them in ARTBUTLER: Adding a work.
STEP 3 – Learn the basics
Our numerous articles will help you to learn the basic functions of ARTBUTLER.
You can also browse the main menus SUPPORT ARTICLES and FAQ.
Create a backup
Protect your data in ARTBUTLER against data loss due to hard disk errors or the loss of your computer.
Managing addresses
Here we show you how to manage the addresses of your contacts correctly in ARTBUTLER.
Make offers
With ARTBUTLER you can quickly and easily create offers and send them to interested parties.

Create owner changes/invoices
Create invoices using ARTBUTLER and export them as documents in just a few seconds.

Create consignments
Learn how consignments are created based on information from the categories works, contacts and exhibitions.
Create inventory numbers
Learn how to correctly assign inventory numbers for your works to simplify their assignment, tracking, and organisation.

Create contact groups
You want to organise your contacts in different groups? We will show you how you can use contact groups for this.

Use export templates
Create documents such as invoices, offers or work lists faster using export templates.
Invoice numbers
Learn how to easily assign invoice numbers to your invoices created in ARTBUTLER.

Create exhibitions
Document your exhibitions in ARTBUTLER and link them with works, contacts or external documents.
ARTBUTLER Academy
Need help getting started? How about a training course?
Arrange an individual course or short session with us. We offer you various training models to ensure an optimal start with ARTBUTLER.
In the Trainings menu you will find an overview of all our offers.
Is something still unclear? Contact our support team!
We are available for you on weekdays from 11 am to 6 pm.
+49 (0)30 486 230 65
via Chat